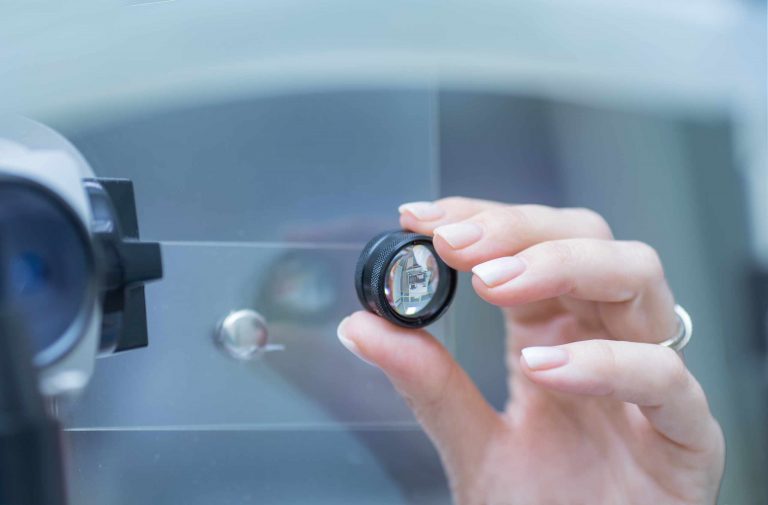

What is the appropriate distance between the screen and the convex lens? The distance depends on the distance of the object but you can get a rough idea of the focal length by setting up a simple experiment in the lab. All you need is a convex lens and its holder, a piece of white card, a ruler, and an object which is far away (a window, a building, a tree etc). Do not use the Sun as an object, and do not look through the lens into a bright source.
Set up the lens facing the object and place the white card behind it so that they are approximately perpendicular to the direction of the object. Move the card backwards and forwards until you see an image. You will find it easier to judge the position of best focus if you can see fine details in the object (eg window panes, twigs, outlines of roofs) rather than just the whole wall or a patch of sky. Make sure that you keep the lens steady when you move the card.
When you have the image as sharp as possible, measure the distance from the centre of the lens to the card. This will be close to the focal length of the lens. The result will be an approximation rather than an accurate value because the lens has some thickness, the object is not at infinity, and the equipment can be moved around a bit. Getting a value after repeating the experiment a few times will be more useful than relying on a single value based on the first setting you tried.
Blur can be due to the distance between the lens and the card but also to their relative positions. If the lens is not perpendicular to the direction of the object then a section of the image may appear sharper than another section. If the card is too high or too low then a part of the image might fall outside the card. Try looking at your set-up from the side and from above to check that the centres of the lens and screen are aligned. Having a dark background may help to make the image stand out more and so make it easier to judge the best position.
Do not move both the lens and the screen together. When the two pieces of equipment move, you won’t know why the image has changed. Keep the lens stationary and slide the card, in small steps, until you get a good image. Record the distance between the lens and the card. Now move the card a little closer and further away to see which position is clearer. This will help you to avoid stopping on a setting which happens to look brighter.
Try moving the lens and card around to see if you can form a real image. Place a target (eg a printed picture) at a known distance further away than the focal length of the lens. Move the card until you can see an image on the screen and record the object distance, image distance, image size and orientation. Don’t expect the card to always be a focal length behind the lens because the object is no longer at infinity. The first estimate of the focal length is useful though because it tells you approximately what the distances should be.
The focal length should be something that you can reproduce. Go back to the original settings and try to focus the image on the card again. Compare the new value with the one you obtained before. There will be some variation but a big difference suggests that you are not holding the lens steady, or it is not aligned correctly, or the object does not have enough detail, or you haven’t found the best position of focus. You are likely to get a more useful answer if you can keep repeating your results with the image centralised, inverted, and as sharp as possible.