A convex lens doesn’t always produce the same kind of image. If you put an object beyond the focal point of a convex lens, you can get a focused image on a white card. But if you bring the object much closer to the lens, the image no longer appears on the card even though you can still see an enlarged image through the lens. The lens hasn’t quit working. You’ve brought the object across the focal point, and now the refracted light rays behave differently.
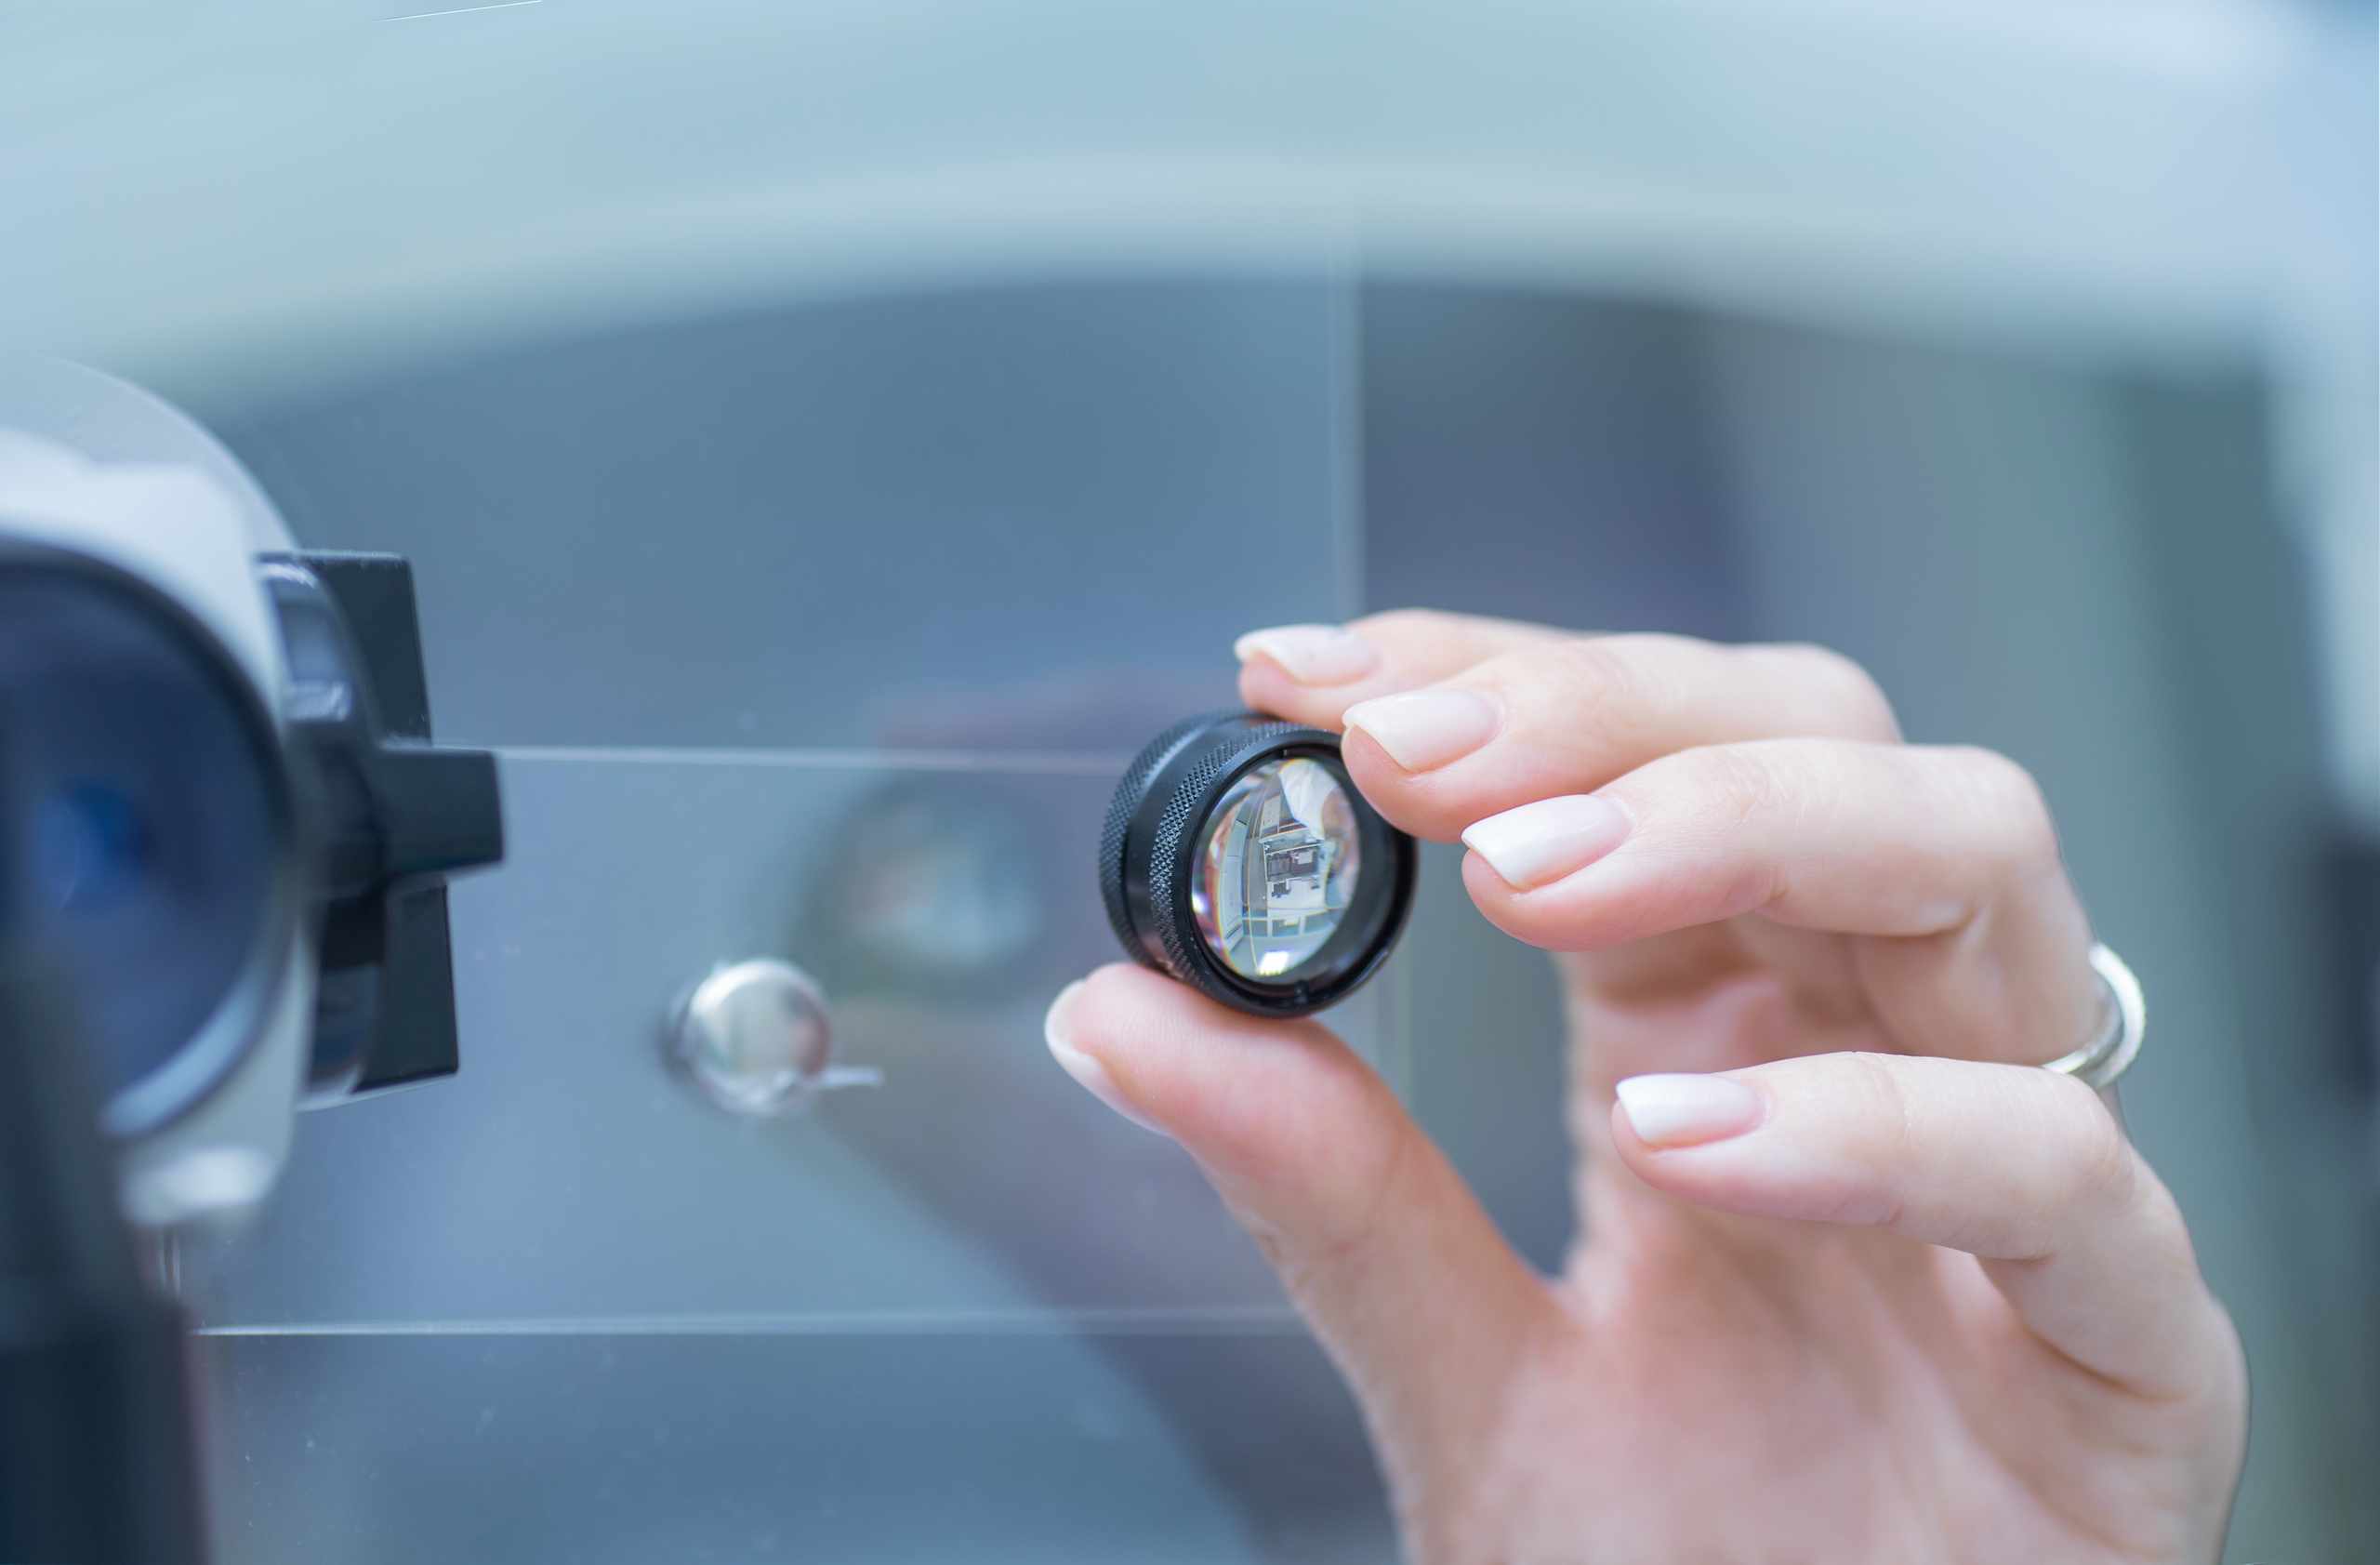
A convex lens is sometimes called a converging lens because parallel light rays going through it are brought together (converge) at the focal point. The focal length is the distance from the middle of the lens to the focal point. If an object is farther away from the lens than the focal length, the light rays emanating from any point on the object will come together on the opposite side of the lens. If you place a projection screen at the location where the rays come together, you’ll see a real image. The image will typically be upside down, and will vary in size according to the object and image distances.
You can demonstrate this with a convex lens, a printed object, a white card and a ruler. Make sure the object, lens and card are all about the same height so their centers line up on an optical axis. Put the object some comfortable distance from the lens and just move the card until you see an image. Go slowly when you find the image. If you go past the focus too fast, it may seem as if there is no image you can work with. When the image is clearly focused, take measurements of the object distance and image distance. Don’t make any other changes yet.
Now bring the object closer to the lens, but keep it outside the focal length. You will probably have to move the card further from the lens to get the image to refocus, and the real image will be bigger. Keep doing this until the object is almost at the focal length. The image distance gets very large, so it becomes hard to catch the image on the card. It’s important to realize that the image isn’t just getting out of focus. The geometry of the light rays is changing.
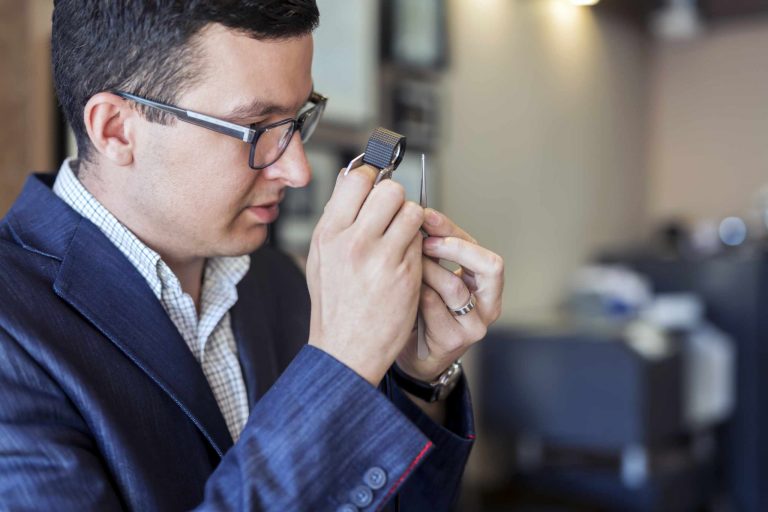
If you move the object within the focal length, the light rays leaving the lens are diverging (spreading apart). The screen can’t bring them together to form a real image, so no real image can be projected. But your eye traces the light rays back and sees them as coming from a bigger upright image on the same side as the object. That’s a virtual image. A magnifying glass produces a virtual image when you hold it very close to the object.
It’s tempting to think every image you can see should show up on a screen. The screen test is a good way to tell the difference between a real and a virtual image. A real image can be formed directly on the card. A virtual image can be seen by looking through the lens. While you’re exploring the differences between real and virtual images, don’t change the positions of all three elements at once. Change one at a time, look at the results, and check the alignment from the side before giving up on the lens.
Do the experiment for two positions of the object: one outside and one inside the focal length. Note the orientation of the image for both positions, its relative size, and whether it’s projectable or can be seen through the lens. Progress isn’t demonstrated by finding the image. Progress is demonstrated by predicting what kind of image to expect based on the position of the object before you start adjusting things, then being able to explain what you saw.